Showing posts with label Chalk Painting. Show all posts

Thursday, August 13, 2020

A Repurposed Curtain Rod

 I had been hanging on to this quite outdated gold rod from the '80s.  It was hard for me to replace it as it was an expensive purchase and one of those things that I just couldn't bring myself to let go of. The rod just didn't fit with my decor and my draperies.  Chalk painting was the way to save the rod and give it an updated look.  It was such a simple project that it only took me about a half-hour to do both rods and rings.  I used Dixie Belle (you can tell I use that frequently as I love the way the paint just glides on), The color was Putty with nothing else.  I only gave it one coat, as I liked some of the color from the original rod peeping through.  When it was dry, I gave it a quick coat of my stand-by Dixie Belle Gator Hide to seal it.  This was about a 3-hour project and what a difference it made to the room.  Below you will see the before and after.


Tuesday, August 4, 2020

A Shabby Coffee Table transformed to Chic Country French

Anything old can be made classy and beautiful with a little ingenuity as well as patience and time.  This table was banged up pretty bad which was what attracted me to it.  I cleaned it up with Mineral Spirits as I always do.  Then I took a putty knife and stripped some of the loose pieces of wood off to really give it a gouged look.  Next came one coat of Dixie Belle Burlap chalk paint all over the table to include the gouged places.  I used a dry brush technique.  What is the dry brush technique?

One of the key elements in using the dry brush technique with chalk paint is offloading. Offloading is the process of wiping paint off of the brush after you have dipped it in the paint. You can do this on a paper towel or other material to prepare your dry brush.  Then you just paint as normal.  You will be able to see some on the paint underneath which can eliminate the sanding process.

After the paint was dry, I used Annie Sloane's dark wax in the gouged places to achieve the dark color I was looking for.  I then taped the dark wax gouges with blue tape so they would not lighten up while I finished the project with a mix of dark and white wax all over the table to seal the paint.  Start with a little dark wax and keep adding white wax (I use a plastic knife and paper plate for this process) until I achieved my desired distressed color.  Remember you can always go darker but changing back to light can be a bit more challenging.  Apply your wax with a round waxing brush, then after the wax is applied, it's time to buff your wax.  I use my husband's old tee shirts that I cut up for my polishing cloths.  Next, some elbow grease to polish until you feel a smooth surface.  A cut piece of granite on top and now you have a beautiful Country French Coffee Table.


Tuesday, July 28, 2020

Upcycled Dresser To Love Again

A beautiful makeover using Frottage, (French: “rubbing”), in visual arts, a technique of obtaining an impression of the surface texture of a material, such as wood, by placing a piece of paper over it and rubbing it with a soft pencil or crayon, as for taking brass rubbings; the name is also applied to the impression so obtained.  This was a 70's maple dresser that I basically turned Shabby Chic with little effort.  I started with a base of Annie Sloan Duck Egg Blue and only gave it one coat.  When it was completely dry, I then put a coat of Annie Sloan Sage green on top.  While it was still wet, I crumbled a paper bag good and tight.  After crumbling the paper, I open it up to all the wrinkles and pressed it into the wet paint creating a very artistic look as you can see in the picture.  I did not stress the dresser but sealed it well with Dixie Belle Gator Hide(Gator Hide is a poly-acrylic that repels water and is used to protect tabletops and cabinets).  As you can see I left a peekaboo of the maple to show through  New handles from Hobby Lobby $35.00 and there you have it, a brand new dresser that if purchased in a store would be close to $500 or depending on where you buy it, even more.  Two cans of Annie Sloane paint cost me approximately $75.98 and a 16oz can of Dixie Belle Gator Hide for $36.45, that will last you for several projects.  The entire project cost $147.43 and by the way, I used that Annie Sloane paint on several other projects as it goes a long way.   We can keep our social distance while getting together for some wine and painting. 


                                                    Vintage Inspired Dresser


Tuesday, July 14, 2020

Armoire Project

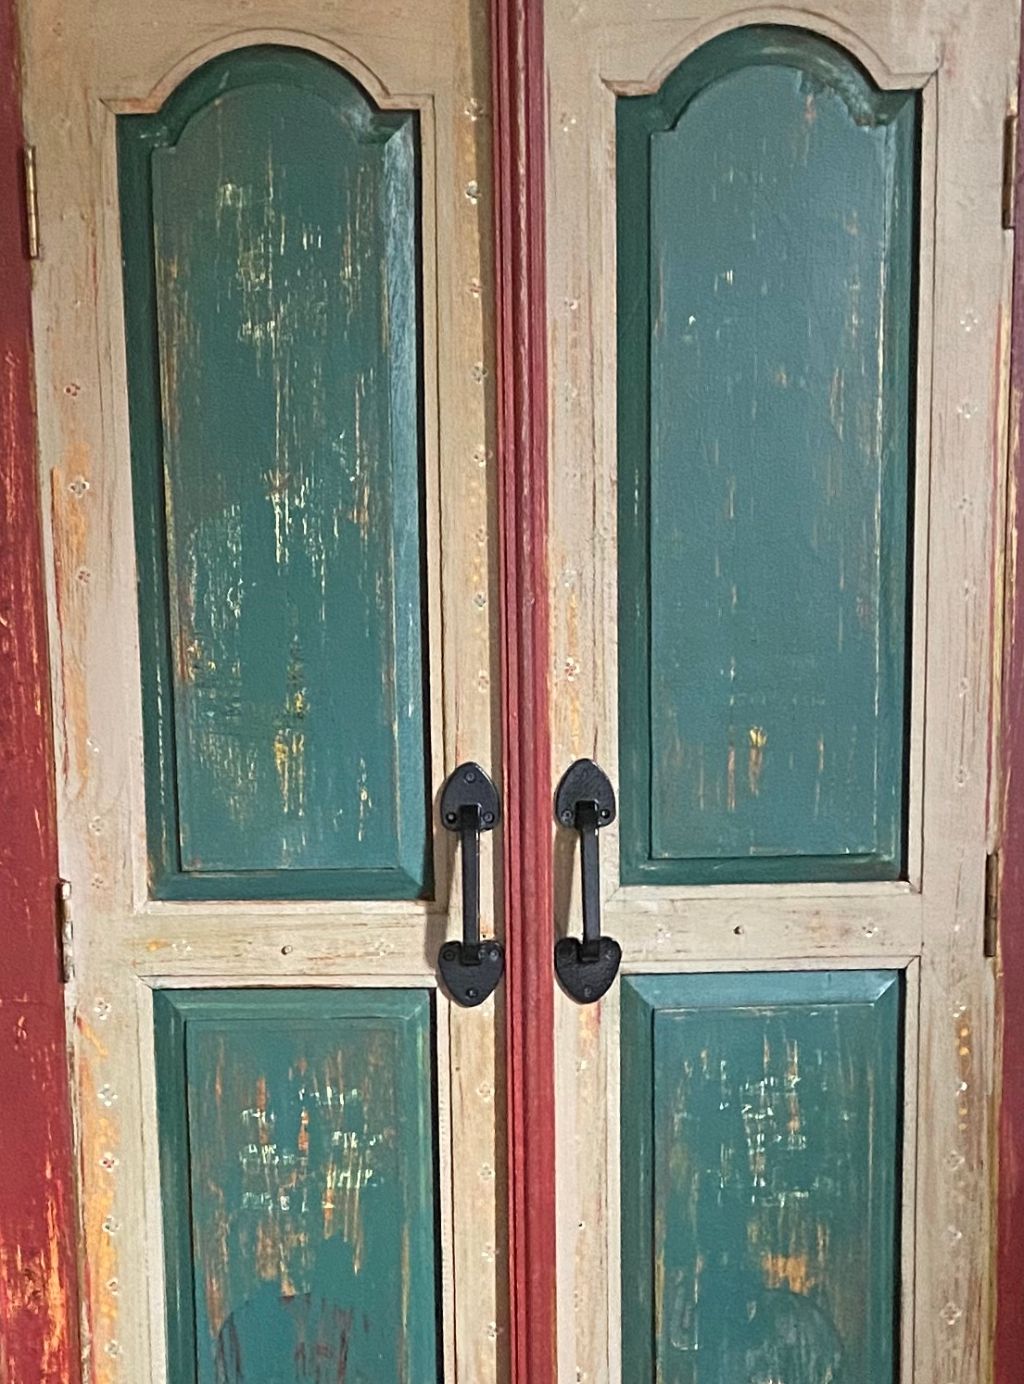
I am sorry I did not take a before picture of this armoire as it was brown and had elephants all over it.  My choice of colors were three from Dixie Belle.  Putty, Rustic Red, and Palmetto.  I did not dark wax but sanded portions so the original colors would show through.  Finished with Dixie Belle Gator Hide. 

Tuesday, July 7, 2020

Formal Buffet Project


This was a buffet that belonged to my husband and his late wife.  It was very dark mahogany and while it was perfect for that time in history, it was a bit too dark for the tiny space where I needed to put it.  I began to research some colors that would work, and I decided on Dixie Belle chalk paint rather than Annie Sloane for no reason.  I happened to see it in a store and liked the color.   It did not have a buffet top at the time.  The hutch top was added at a later date by a dear friend who made it from lumber found at the Home Depot.    


I began this project as I do all my chalk painting projects thoroughly cleaning whatever project you are working on with mineral spirits to remove all the dirt and wax so you are working on a clean palette.  

On this piece, I switched to Dixie Belle paint.  The color was Burlap.  I painted it all over with two coats.  Then, I went back over it with medium grade sandpaper and sanded it wherever I wanted the appearance of a distressed piece.  You may sand either before or after you wax.  I prefer sanding before waxing but it doesn't matter.  Just make certain to get all the particles removed from the sanding process.  I use my hand vacuum.  

I then took approximately 2 Tbsp. of Annie Sloan dark wax and mixed with 4 Tbsp. of white wax.  The reason I do this is that you can always go back and make it darker but it's much more difficult to go lighter.  I use a large round waxing brush to apply the wax.  Do a section at a time and then use a soft cloth to shine your wax.  You can also use Johnson paste wax and achieve the same result without any added aging.  For my polishing cloths, I cut up my husband's old tee-shirts.  When the piece was all waxed and finished, I used a coat of Dixie Belle Gatorhide to ensure a hard finish.

Now, getting the hutch top that was attached a year later to match was a challenge; however, I am never turned away by a good challenge.  This was raw hardwood with no finish so I first applied a coat of Kiehl's sealer paint on to seal the wood.  Next, I made it dark mahogany with a dark stain.  Funny back story...while I was staining the underneath, I laid my head in the varnish, of course by mistake.  (I have silver hair) and for the next two hours, I was a victim to a rag soaked in turpentine while my sweet husband asked "Why on earth would you do that?" But being the sweetheart he is, he tried his best to remove it and in the end, he couldn't remember the word for the color of hair I had so he commented, "Well, it looks as though you spent a lot of money on 'that' hair."  I was hoping the word was balayage.  That was definitely it for the day, but not for the project that I was determined to complete.  Wine was definitely in order as I toasted my new hair color whatever it was called. 

After the stain was applied to the hutch, I let it dry for 24 hours.  Then I followed with two coats of Dixie Belle Burlap paint.  When dried, I sanded and waxed as above followed by the Dixie Belle Gatorhide.  The match was perfect as you can see from the picture. 

By the way, the hair returned to normal after a few months and some creative hair cuts.

Tuesday, June 30, 2020

Refurbished Buffet Table

Another rainy day project that just took a weekend from start to finish.   The buffet below was a thrift store find for only $35.00.  It was very dark mahogany in need of a facelift to fit into my Country French collection of furniture.  I stated, as usual, cleaning the entire buffet with mineral spirits to take off any grease, dirt, or grime.  That is the beauty of chalk paint as that's the only preparation you need. 

Step 1  I used crackle paint by Annie Sloan and painted the entire piece.  Let it completely dry.  Normally you put crackle paint on top of your first coat of paint to show that color thru the second coat of paint; however, I wanted the wood to show thru the layer of paint so doing the crackle first was an experiment and it worked to achieve the result I was looking for.  Crackling techniques 

Step 2  I put Annie Sloan Duck egg blue, Paris Gray and French Linen, and olive on a paper plate(do not mix)  I put my brush in all three colors at once and began painting.  This creates a mixture of colors.  I let this dry completely.  As it began to dry, it crackled and the wood showed thru which created a very distressed look.

Step 3  I painted the sides and bottom of the buffet with the same procedure as step two only using Country Gray and Old World.  They crackled as well.   All by Annie Sloan.

Step 4  I used a technique called Frottage only on the drawers. I painted the olive on the dresser drawers and while it was still wet, I crumpled a brown paper bag good and tight and unfolded it and just gently worked it into the wet paint.  It creates a look like a drawing on your paint.  Dry completely.

Step 5  I always mix dark wax with white wax.  The reason behind: you can always make your wax darker but it is much more difficult to go lighter.  I put the wax on with a good wax brush and then buff it to a nice finish.  I cut my husband's old white tee shirts to use as my polish cloth. You can also use just Johnson and Johnson wax; however, it will not achieve that distressed look.   This sets everything.  Add a coat of varnish if you wish for added protection.  I find Gator Hide by Dixie Belle to be an excellent product and if I do not want the look of waxing to create an old look, I just finish with the gator Hide.  

If you have any questions, please comment below, as I have a lot of tips and short cuts for you.

Tuesday, June 23, 2020

Darling Dressing Table Makeover

Here is an old dressing table that was once a warm gold.  Definitely not appealing to the eye.  Annie Sloan once again to the rescue.  I taped off the drawers where I did not want to paint and did the rest of the table in Duck Egg Blue and finished with Dixie Belle Gator Hide for endurance. 


Tuesday, June 16, 2020

Maple Dresser Makeover

This dresser originally belonged to my husband's late wife.  I wanted to update the look to be more shabby chic so I grabbed some Annie Sloan Duck Egg Blue and got to work.  This time I was a bit more creative and decided to do a frottage technique.  Never tried it? Check out this video to learn more.  I feel the overall result is just what I was looking for.

This is a close up of the technique of frottage 

Tuesday, June 9, 2020

Upcycled Chairs Project

When we still lived in North Carolina I found these adorable chairs at the Tobacco Barn in Asheville, but they needed a bit of updating. The original wood on these chairs was a dark brown, maybe mahogany, but it didn't go with my decor. The original fabric was green, orange, and brown... ick! Despite all that, I could still see the potential beauty in these chairs. New fabric and Annie Sloan chalk paint to the rescue!!


As with any project, you need to clean them with mineral spirits to get any old dirt, residue, and grease off the existing surface. That is the only preparation you need when chalk painting. You don't need to strip any of the existing paint or finish off. I used Annie Sloan sage green chalk paint, finished with dark wax.